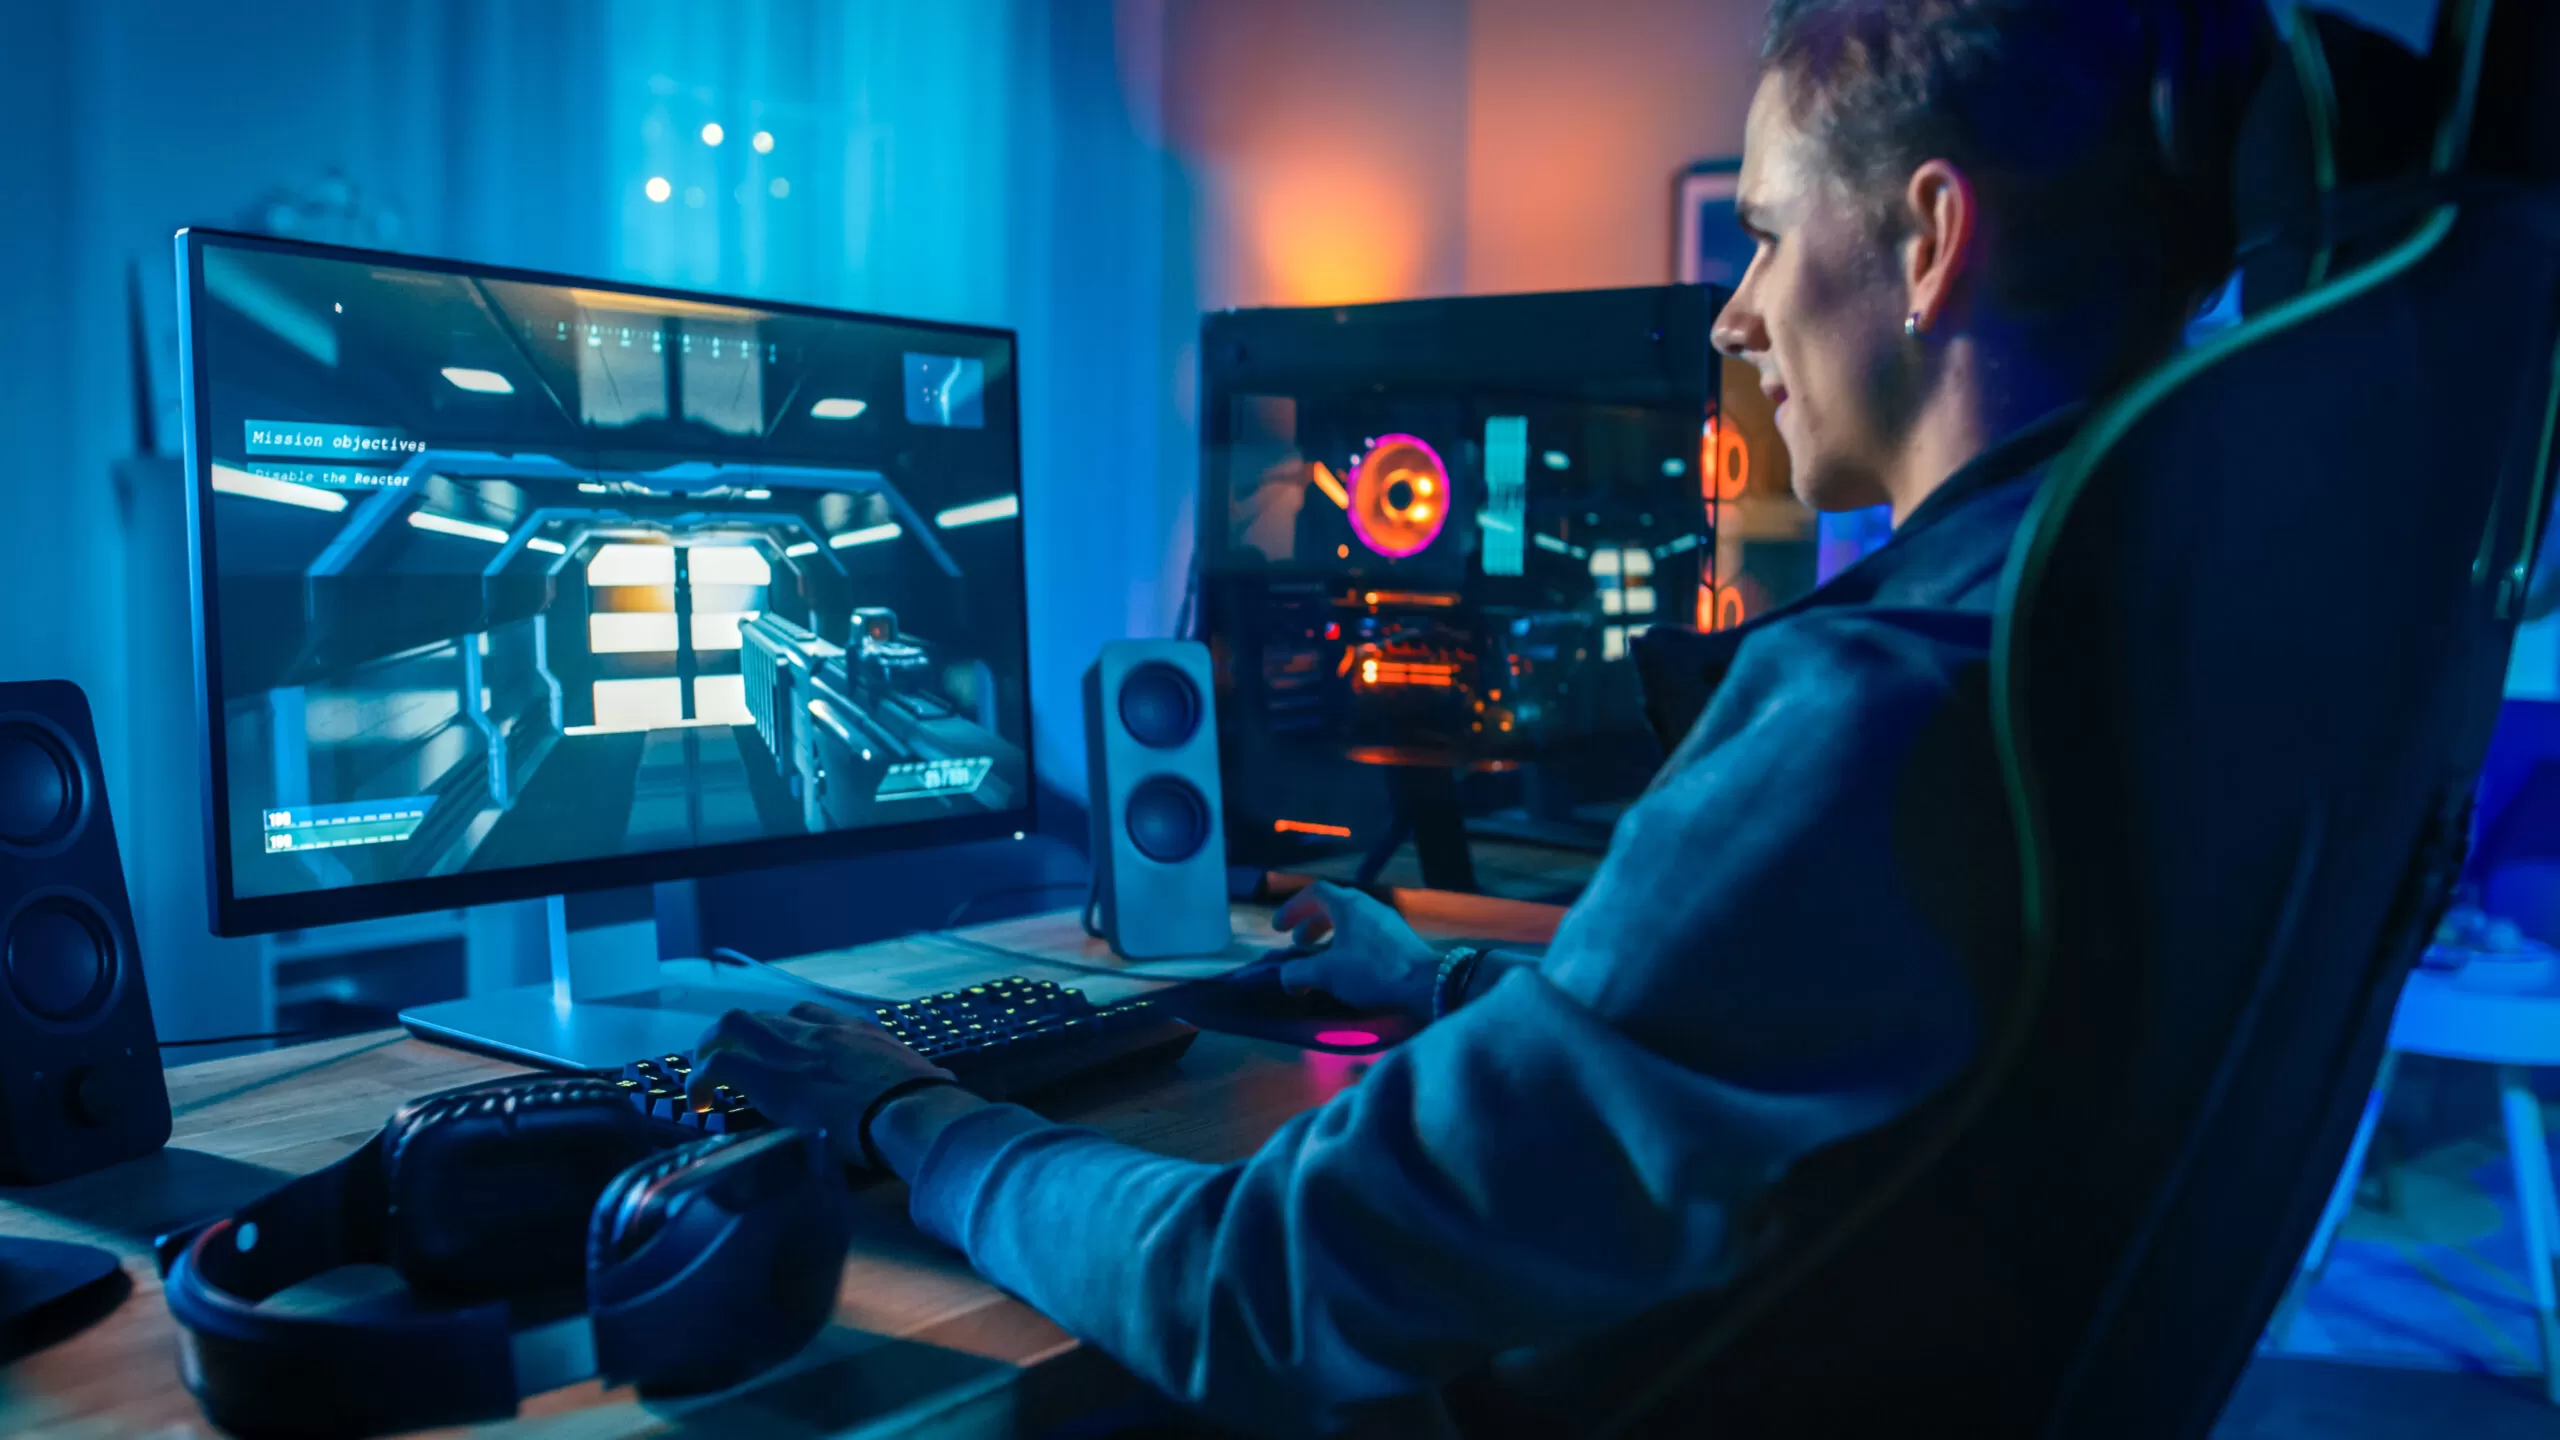
Boost Your FPS Without New Hardware: The Complete Guide
If your games feel choppy, you don’t need to empty your wallet to fix it. With the right tweaks, you can squeeze surprising performance out of the PC you already own. This guide walks you through practical, low-risk steps—starting with the biggest wins—so you can play smoother today.
TL;DR: Quick Wins (5–10 minutes)
- Turn on Game Mode (Windows) and set Power Mode to Best Performance.
- Close overlays and background recorders: Xbox Game Bar capture, Nvidia ShadowPlay, Discord overlay, Steam overlay.
- Lower the most expensive in-game settings first: shadows, post-processing, volumetrics, ambient occlusion; reduce resolution scale 5–10% if needed.
- Cap FPS just below your monitor’s refresh rate (e.g., 141 for 144 Hz) and use Fullscreen exclusive.
- Update GPU drivers with a clean install.
If you have a bit more time, move your game to an SSD (if you have one) and clean up startup apps.
Step 1: Measure Before You Tweak
You can’t improve what you don’t measure.
- Use your game’s built-in benchmark or enable an in-game FPS counter.
- Optional: Install a lightweight overlay (e.g., MSI Afterburner + RivaTuner) to see FPS, GPU usage, CPU usage, and frame time.
Identify your bottleneck:
- GPU-bound: GPU usage ~95–100% while CPU threads aren’t maxed.
- CPU-bound: GPU usage low, but one or more CPU threads pinned; big cities/crowds tank FPS.
- Storage-limited/stutter: FPS spikes, hitching during asset streaming/load.
This matters, because the best settings to change depend on the bottleneck.
Step 2: Windows Settings That Actually Help
Game Mode: On
- Windows 10/11 → Settings → Gaming → Game Mode → On. It prioritizes your game and manages updates in the background.
Power Mode: Best Performance
- Settings → System → Power → set to Best performance (on desktops) or Best performance when plugged in (laptops).
- Background Capture: Off
- Settings → Gaming → Captures → Turn off “Record in the background.”
Xbox Game Bar: Off (unless you use it)
- It’s handy, but the overlay and recording can sap performance.
Visual Effects: Performance lean
- Search “Adjust the appearance and performance of Windows” → Choose “Adjust for best performance” or at least disable transparency/animations.
Startup Apps: Trim aggressively
- Task Manager → Startup → Disable launchers and updaters you don’t need every boot.
Storage Health:
- Ensure 15–20% free space on your game drive.
- On HDDs, run Defragment and Optimize; on SSDs, just use Optimize (TRIM).
- Move the game to your SSD if available (no new hardware—just relocation).
Hardware-Accelerated GPU Scheduling (HAGS):
- Settings → System → Display → Graphics → Default graphics settings → Toggle HAGS. Test on/off; it helps some setups and hurts others.
Step 3: Driver & GPU Control Panel Tweaks
Update your graphics driver, ideally with a clean install option. Then:
Shader cache: Keep enabled (reduces stutter after first run).
Texture filtering quality: Set to Performance.
Low Latency/Anti-Lag:
- NVIDIA: Low Latency Mode = On (or Ultra if you cap FPS below refresh)
- AMD: Radeon Anti-Lag = On
- Intel: Enable Low Latency options if available
V-Sync: Off in driver; if you want tear-free, use in-game V-Sync or, better, use G-SYNC/FreeSync with an FPS cap a few frames below refresh.
Image scaling/upscalers:
- NVIDIA Image Scaling (NIS): Enable globally or per-game for a free performance bump.
AMD Radeon Super Resolution (RSR): Similar concept at driver level.
- These don’t require buying anything and can add 10–20% performance depending on game and settings.
Per-app GPU preference (laptops):
- Settings → Display → Graphics → set your games to High performance (dGPU).
Advanced users: If you’ve been experimenting, hit “Restore defaults” in control panels to clear conflicting tweaks before applying the above.
Step 4: In-Game Settings That Matter Most
Change the heavy hitters first, then fine-tune:
Resolution and Render Scale
- Keep native resolution if possible; drop render scale by 5–15% for a near-invisible quality loss with a nice FPS bump.
- If you must, lower resolution one step and enable a good upscaler (FSR/DLSS/XeSS if supported by your GPU/game).
Shadows: Big FPS lever
- Lower overall shadows quality and shadow distance. Often yields large gains.
Post-Processing & Effects
- Reduce motion blur (off), depth of field (low/off), film grain (off), chromatic aberration (off). These don’t add FPS massively but clean visuals and reduce strain.
- Volumetrics, Ambient Occlusion, Screen-Space Reflections
- Medium or Low can claw back a lot of frames.
Textures
- Lower only if you’re VRAM-limited (stutter or hitching when turning). Won’t help FPS much if GPU core is the limiter.
View Distance/Crowd Density/Foliage
- Reduce for CPU-limited scenarios (open-world games, busy city scenes).
API choice (DX11 vs DX12/Vulkan)
- Some games run better on DX11, others on DX12. Try both; keep the smoother one (watch 1% lows, not just averages).
Fullscreen Mode
- Use Exclusive Fullscreen for the lowest latency and best performance; avoid Borderless if you’re chasing max FPS.
FPS Cap
- Cap a few frames under refresh (e.g., 141 for 144 Hz) to reduce input lag and avoid V-Sync triggering.
Step 5: Kill Background Drains and Overlays
Overlays: Disable Discord, Steam, Ubisoft Connect, EA App, GeForce Experience, Radeon Overlay unless needed.
Background recorders: Turn off ShadowPlay/Instant Replay, Radeon ReLive, Windows background capture.
Browser tabs and updaters: Close Chrome/Edge with many tabs, torrent clients, RGB utilities, motherboard suites that poll sensors.
Antivirus: Exclude your game folder from real-time scanning to prevent micro-stutter during asset loads (leave AV enabled—just add exclusions).
Step 6: Fix Thermal Throttling and Power Limits
Thermals can kneecap FPS without you noticing.
Monitor temps while gaming (GPU/CPU). Target under ~85°C for GPU and under ~90°C for CPU under load.
Clean dust filters and fans; ensure good case airflow.
Laptops:
Play plugged in.
Set manufacturer control panel to Performance/Turbo.
Elevate the rear for airflow; a cooling pad can help (not required, but cheap if you already have one).
Optional advanced: A light undervolt (CPU or GPU) can reduce temps and maintain higher sustained clocks. Research your specific chip and proceed cautiously.
Step 7: Eliminate Stutter and Hitching
Move the game to an SSD if possible.
Clear or rebuild shader cache (many launchers/games offer this; first run after will stutter, then smooths out).
Set pagefile to System managed on your fastest drive (don’t disable it).
Disable Fullscreen optimizations per-game (right-click .exe → Properties → Compatibility) if you notice inconsistent frame pacing.
For problematic titles, try toggling Threaded Optimization (NVIDIA) or similar options in your driver.
Step 8: CPU vs GPU: Tune Smarter
If GPU-bound:
- Drop shadows, effects, volumetrics, AA quality, and try image scaling (NIS/RSR) or in-game upscalers at a lower render scale.
If CPU-bound:
- Reduce view distance, traffic/crowds/physics/simulation frequency, foliage density, reflections quality; keep textures higher if VRAM allows (textures don’t tax CPU much).
Watch frame time graphs: smooth, flat lines > chasing a big average FPS number.
Step 9: Maintenance (Monthly)
Update GPU drivers; consider chipset drivers too.
Windows Updates (after major updates, re-check Game Mode/capture settings).
Clean startup list; uninstall bloat you don’t use.
Verify game files to fix oddities after patches.
Laptop-Specific Tips
Battery: Always play plugged in; set Windows + OEM utility to Best Performance.
Hybrid graphics: Force the game to use the discrete GPU.
Panel refresh rate: Ensure your display is set to its max Hz in Windows → Advanced display.
Don’t run heavy charging + turbo modes in a hot room; heat equals throttling.
A Simple, Repeatable Tuning Flow
Update drivers → 2) Set Windows/Game Mode/Power → 3) Disable overlays/recorders → 4) Exclusive Fullscreen + FPS cap → 5) Reduce shadows/volumetrics/post → 6) Adjust render scale or enable scaling/upscaler → 7) Check temps and background apps → 8) Test, then iterate.
Take 10 minutes, follow the flow, and you’ll usually net a noticeable FPS bump and, more importantly, smoother 1% lows.
Final Thoughts
You don’t need a new GPU to enjoy your games. Most performance pain comes from a handful of settings, background drains, and thermals. Start with the quick wins, measure your changes, and tune based on your bottleneck. If you do only three things today: enable Game Mode, trim background apps/overlays, and reduce shadows + effects in-game. Your future self—gliding through fights without stutter—will thank you.